Before you even consider updating to a new OS read our blog post, Important Steps to Take Before You Upgrade macOS. It will recap some important steps to keep in mind when updating your OS.
Before you jump head first into an OS update it's our recommendation that you first backup everything, read more below and if you haven't checked over your system and Applications over to be sure things are compatible with the new update you should be sure to do that before moving forward with a big update. Consider keeping your OS about 1-2 Major OS releases behind the current OS, now that would be OS 10.12 as 10.14 comes out) but not so far behind you are not getting updates. This gives vendors time to catch up with the updates and patch their software.
The new OS has a lot of Awesome new features and you are going to be tempted to click that update button but your Mac may not have the resources needed to run the new OS efficiently which may cause slowness after the update. You may also have applications that will need to be updated to continue to work properly, such as MS Office or older versions of Adobe programs. So check these things out and back up your system before clicking go.
Poll a room of Apple experts about the one topic they can’t stop talking about and many will launch into frustrated rants about how too few people back up. Backups are always important, since you can never predict when your Mac or iPhone will be lost or stolen, melt in a fire, or just break. But one time when backups are especially important is before you upgrade to a major new operating system. If you’re thinking “What could go wrong?” the answer is, “Lots, and wouldn’t you like to be able to revert instantly if something does?”
Mac Backups
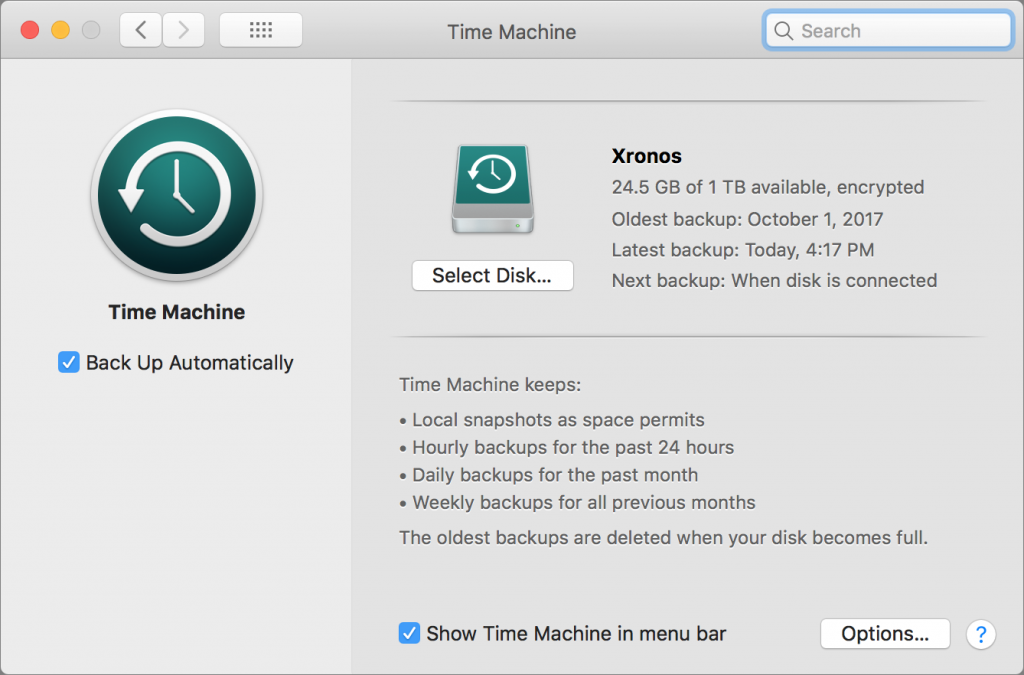
On the Mac side, there are plenty of ways to back up, and a bootable duplicate made with SuperDuper or Carbon Copy Cloner is the best insurance right before you upgrade to macOS 10.14 Mojave. More generally, backing up with Time Machine ensures that you can not only restore your entire drive if necessary, but also easily recover a previous version of a corrupted file. Finally, since a fire or flood would likely destroy your backup drive along with your Mac, we always recommend an offsite backup made via an Internet backup service like Backblaze.
What happens if you don’t back up and your Mac gets damaged such that you can’t access important data? That’s when things get expensive, and if you have a 2018 MacBook Pro, you have even fewer options.
Historically, it was relatively easy to remove a drive from a broken Mac and recover the data from it. Data recovery got harder with solid-state storage, and even more so with the introduction of the first MacBook Pro with Touch Bar, thanks to Apple’s new T2 encryption chip, which encrypts data on the drive. To simplify last-ditch data recovery, Apple put a special port on the MacBook Pro’s logic board and provided a custom recovery tool for Apple Authorized Service Providers. With the 2018 MacBook Pro, however, Apple removed that port, so only data recovery specialists like DriveSavers can recover data from such damaged machines, and only then if they have the user’s password. If you do choose to contact DriveSavers use our discount code to get yourself 10% off their service (The MacGuys+ DS25814)
So please, back up your Mac before something goes wrong. It’s fast, easy, and inexpensive to get started, and we’re happy to help. Call if you have questions 763-331-6227.
iOS Backups
We’ve all seen, if not experienced, a broken iPhone or iPad. They’re durable little devices, but they won’t necessarily survive a drop onto a sidewalk or into a toilet (yeah, it happens). And it’s way too easy to forget your iPhone at the gym or in a restaurant. So a backup is necessary if you don’t want to risk losing precious photos or having to set up a new device from scratch. Plus, just as with a Mac, things can go wrong during major iOS upgrades.
With iOS, though, you don’t need extra software or hardware. Apple provides two ways of backing up your iPhone or iPad, iTunes and iCloud. Neither is necessarily better or worse, and you can—and should!—use both for added safety. We’ve seen situations where an iPhone would refuse to restore its files from iTunes but would from iCloud.
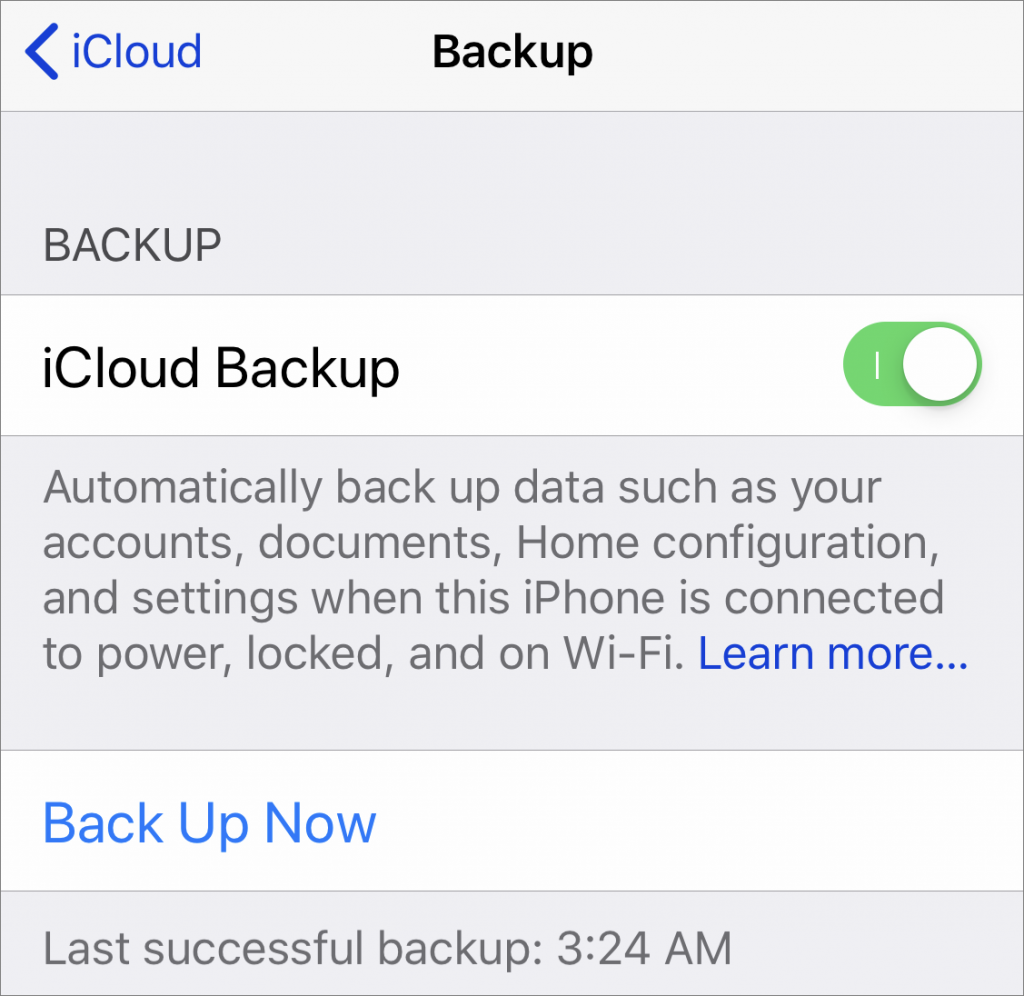
To back up to iCloud, go to Settings > Your Name > iCloud > iCloud Backup, turn the switch on, and tap Back Up Now. For backups to happen automatically in the future, you must have sufficient space in your iCloud account (you get 5 GB for free and can buy more), and your device must be on a Wi-Fi network, connected to power, and have its screen locked.
To back up to iTunes, connect your device to your Mac via a Lightning-to-USB cable, launch iTunes, and click the device icon to the right of the media menu.

Then, in the Backups section, click Back Up Now. If you’re prompted to encrypt your backups, we encourage you to agree since otherwise your backup won’t include passwords, Health information, or HomeKit data. For automatic backups via iTunes, select This Computer. After that, every time you plug into your Mac, it will back up.

If you have sufficient iCloud storage, we recommend backing up automatically to iCloud because its automatic backups work well at night when you’re charging your devices. Then, make extra backups to iTunes whenever you think you might need to restore, such as when you’re getting a new iPhone or iPad, or when you’re about to upgrade to a new version of iOS.