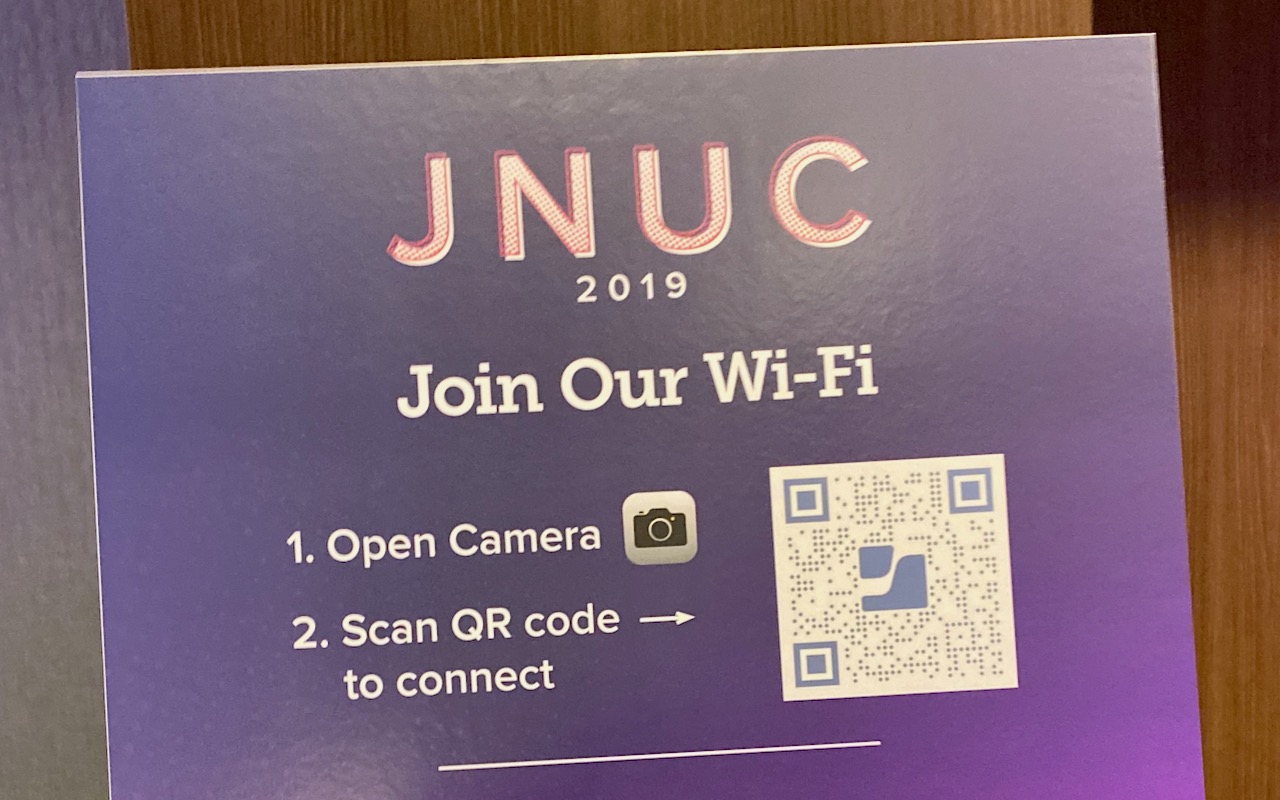
Whether you have guests who want to get on your home Wi-Fi network, customers who need to join your business network, or attendees who want to use your conference network, it’s always fussy to share the network name and password. If an iPhone user has your Apple ID email address in Contacts, their device should automatically prompt you to share your Wi-Fi password, but that won’t work in many situations.
Here’s another option: a QR (Quick Response, if you’re curious) code that, once scanned, lets the person join your network without knowing its name or password. Once you’ve created this QR code, you can print it on a card to share, post it on a bulletin board, or make a custom sign. QR codes are no longer the curiosity they once were, with usage skyrocketing since the pandemic. One estimate suggests that over 83 million US adult smartphone users will scan a QR code in 2022.
Follow these steps to create your custom Wi-Fi network QR code:
- Visit QRCode Monkey and click the WIFI tab at the top. (Other sites, like QR Code Generator and Flowcode, will also work but may require a paid account.)

- Enter the name of your network—also known as the SSID—in the Wireless SSID field.

- If your network has a password, enter it in the Password field, click Encryption, and choose WPA/WPA2. (If your network still relies on the old and completely insecure WEP, choose that instead—and plan to upgrade to a new base station with WPA support soon!)
- If you’re sharing access to a guest network that has no password, leave the password field blank and Encryption set to No Encryption.
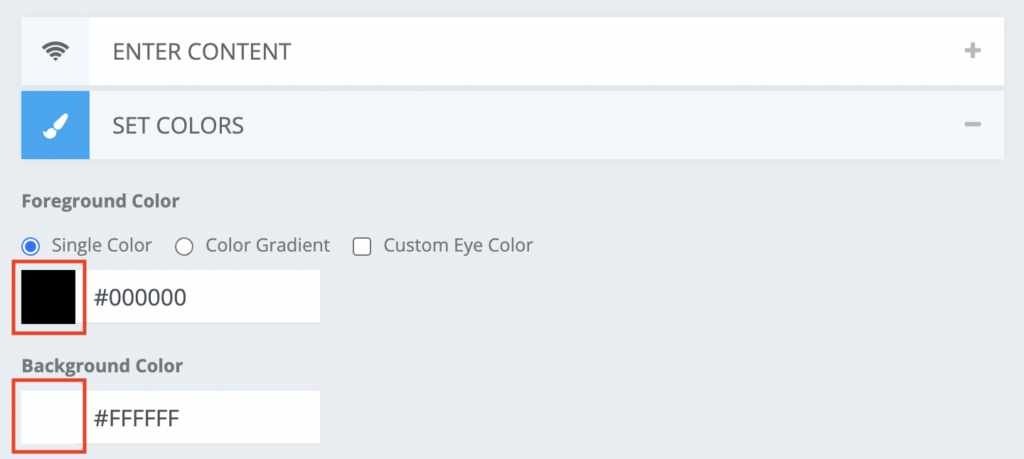
- To change your QR code’s foreground and background colors from black and white, click Set Colors, click a color square, and click on the desired color in the color picker. (You can also enter color hex values.) If you plan to upload a logo, make sure the color works well with your logo.
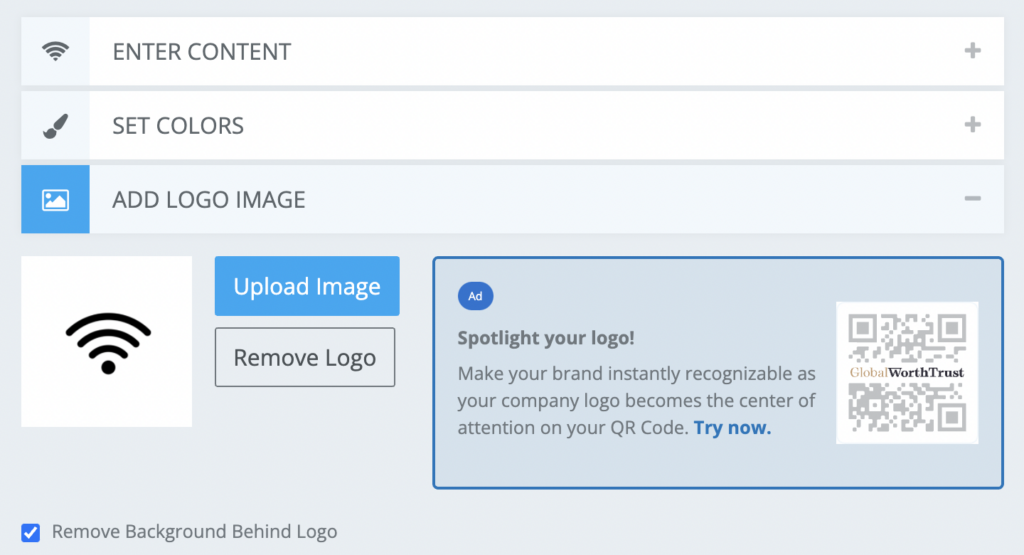
- If you have a logo that you want to include, click Add Logo Image and upload your logo. You may want to resize the white space around the logo to position the logo nicely in the middle of the QR code. If the logo’s background doesn’t match your background color, you may wish to select Remove Background Behind Logo.
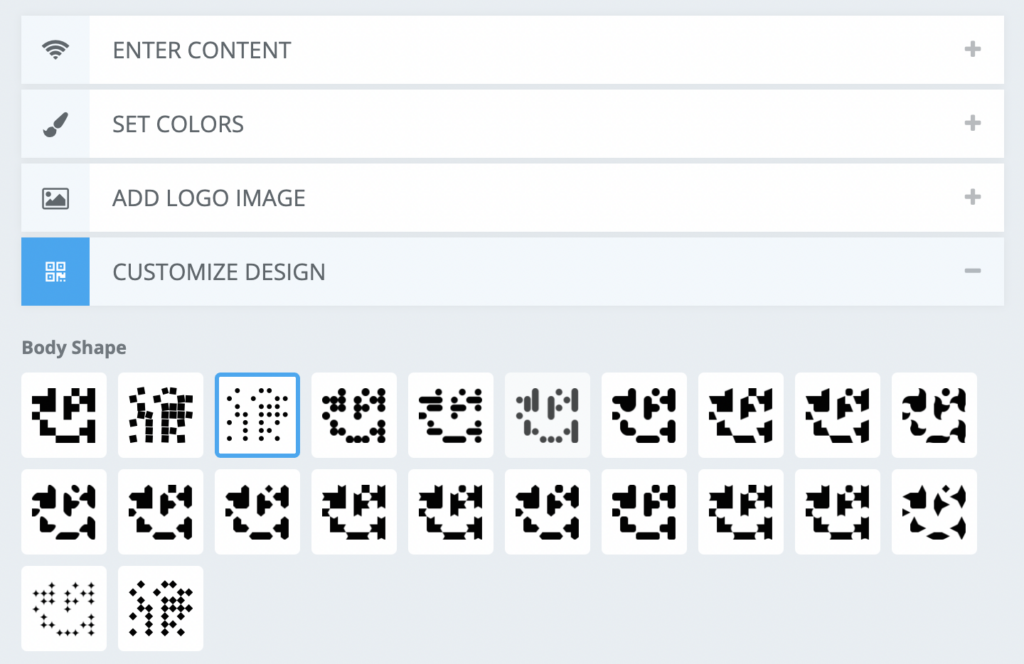
- For a snazzier look, click Customize Design and choose among the various options for Body Shape (the overall pattern), Eye Frame Shape (the corner frames), and Eye Ball Shape (the shape inside the corner frames).
- Click the Create QR Code button on the right to preview your custom design. Repeat Steps 5 through 8 until the QR code looks the way you want.
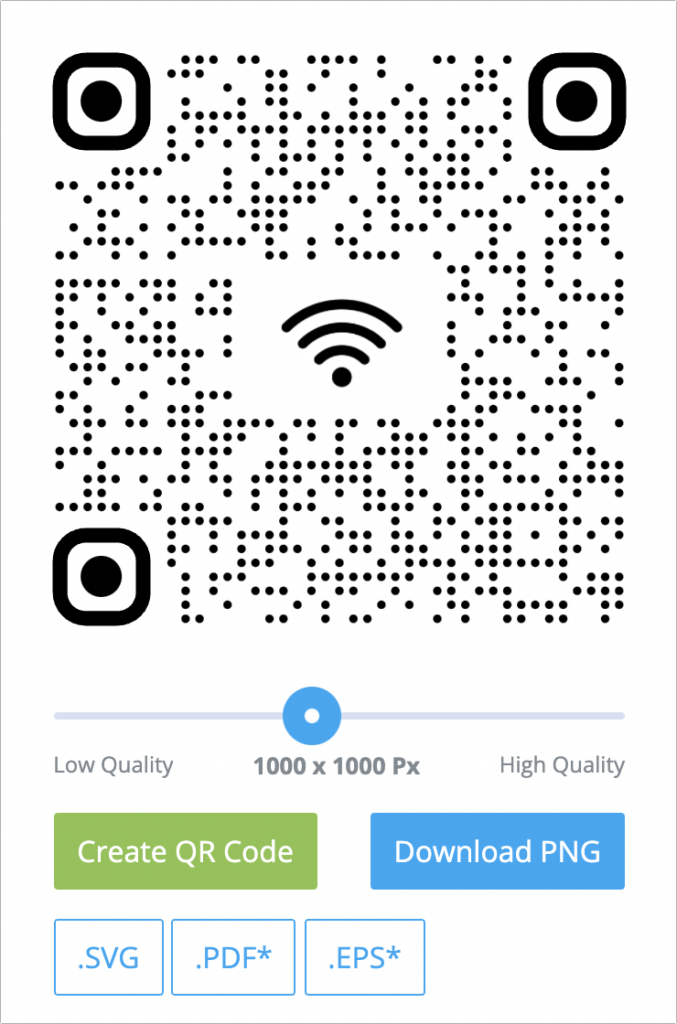
- Adjust the Quality slider if desired—the default of 1000-by-1000 pixels is generally fine.
- Click the Download PNG button to get the actual file. You can also click the SVG, PDF, or EPS buttons to download those less common formats.
That’s it! Once you’ve downloaded the QR code image file to your Mac, you can print it on its own, add it to other print designs, or even put it on your website. There’s probably a size that is too small for cameras to resolve accurately, but that’s easy to test using your iPhone or iPad.
From then on, anyone can access your Wi-Fi network by pointing the camera app on their phone at your QR code—they’ll be grateful for the easy access, and you’ll no longer have to supply them with the network information. It’s a win-win!
(Featured image by Adam Engst)


